Script
This is my script. It helped me a lot when filming because I had everything I needed and was organised.
Storyboard
|
|
|
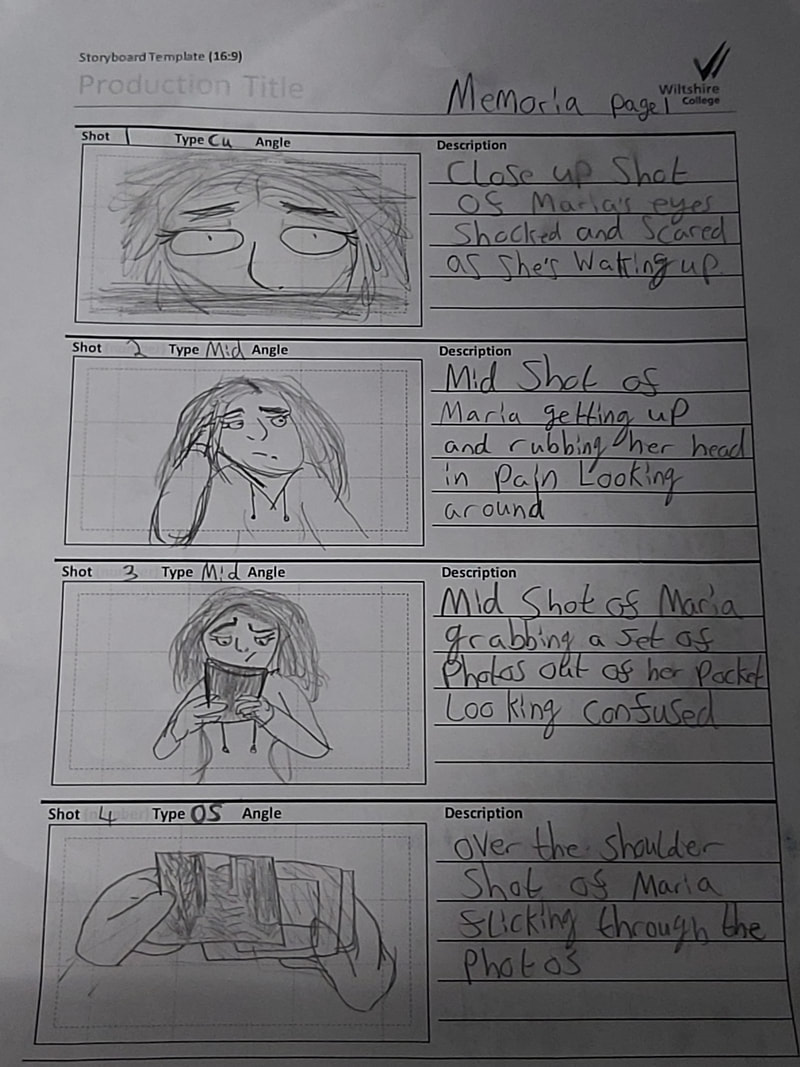
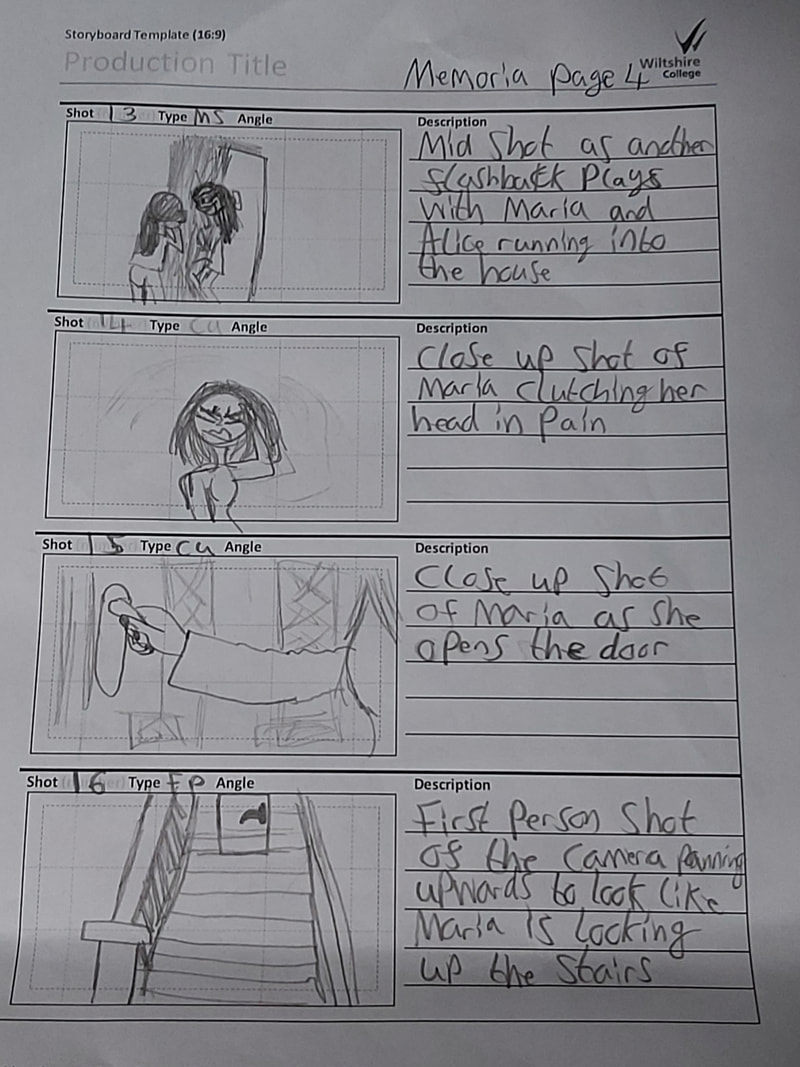
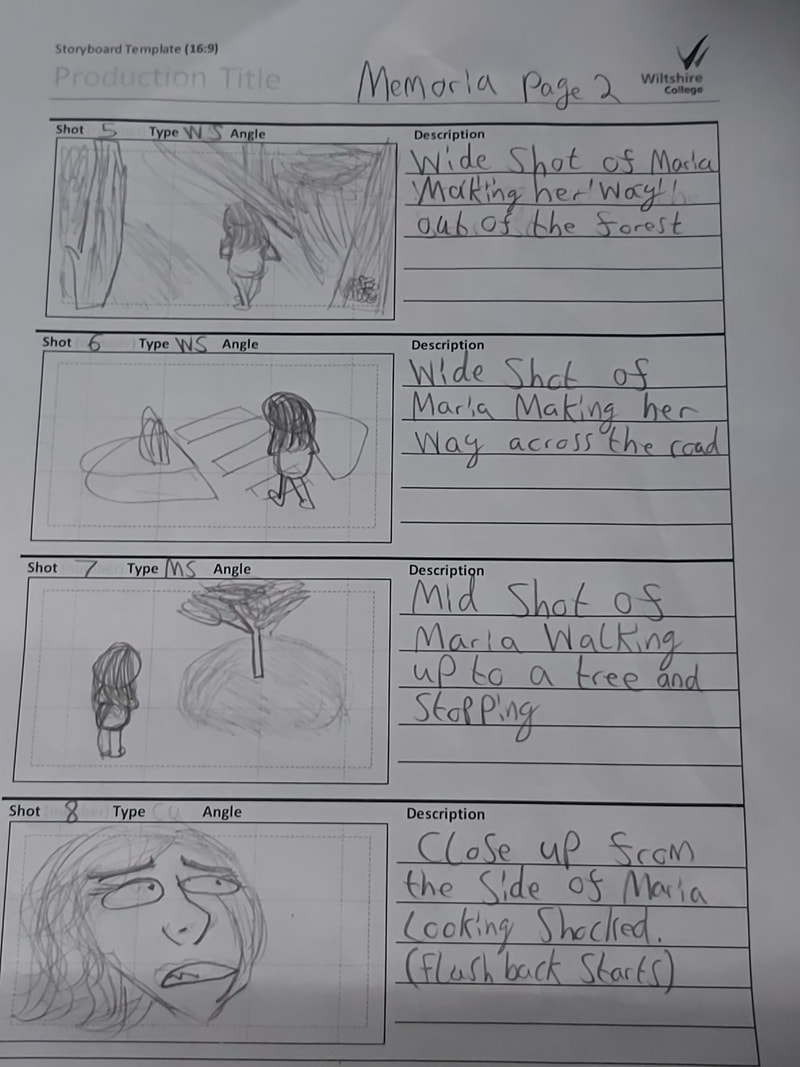
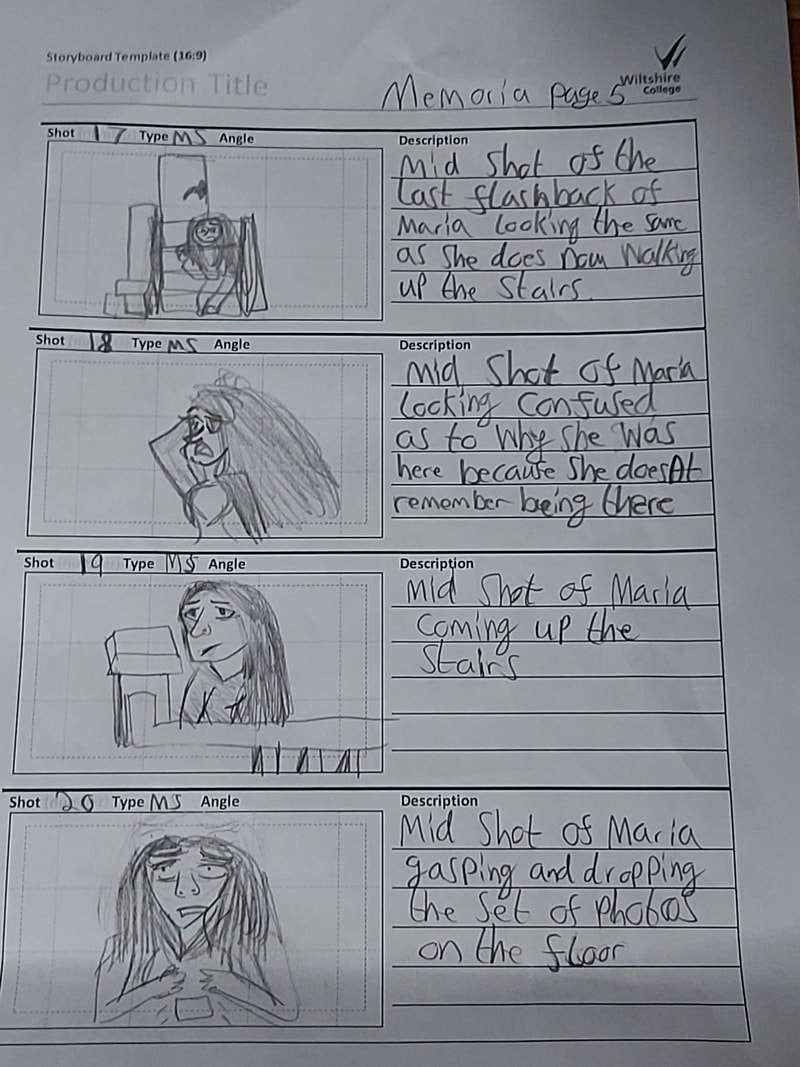
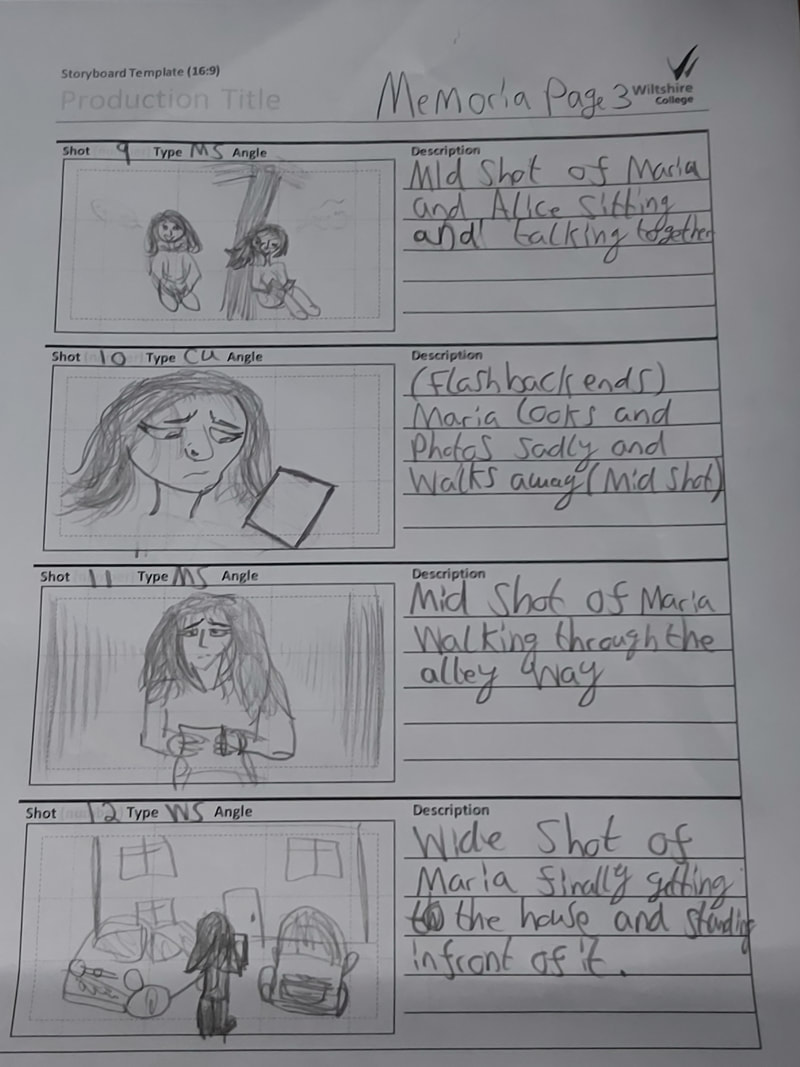
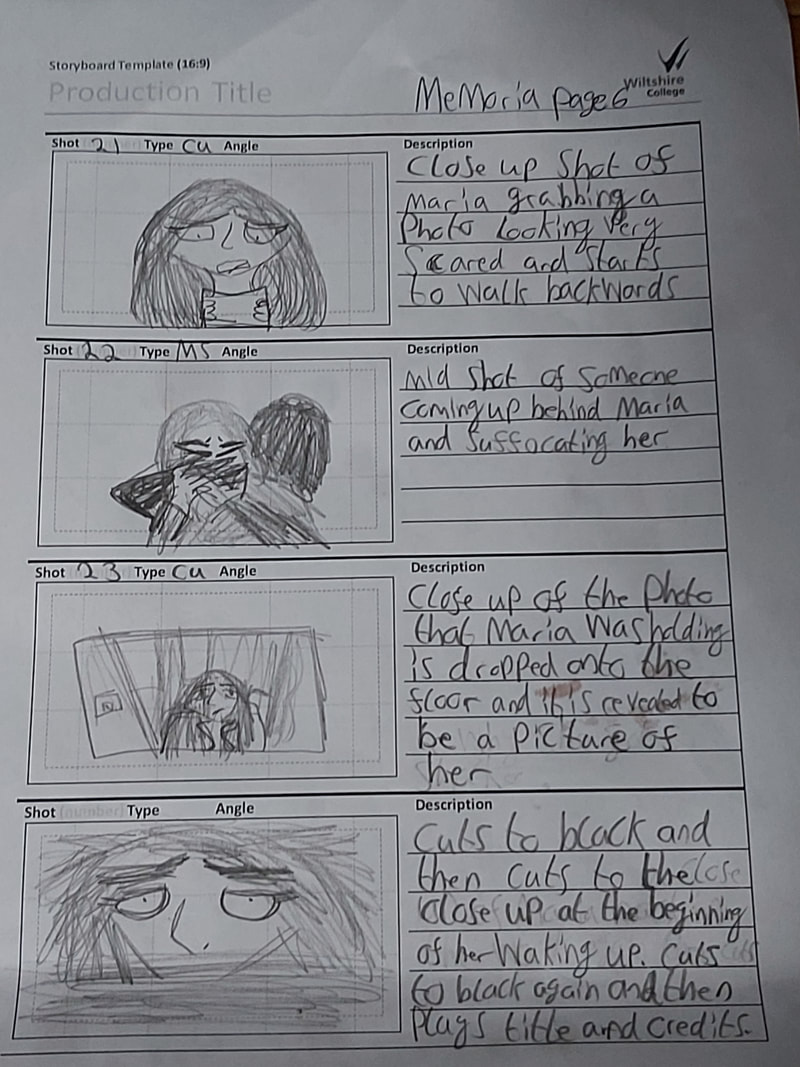
This is my storyboard to show what each scene would roughly look like when I film it.
Shotlist
This is my shotlist, it describes all the shots that I have used in order when filming all of my scenes for my project and it is all written out on a word document above.
Schedule
|
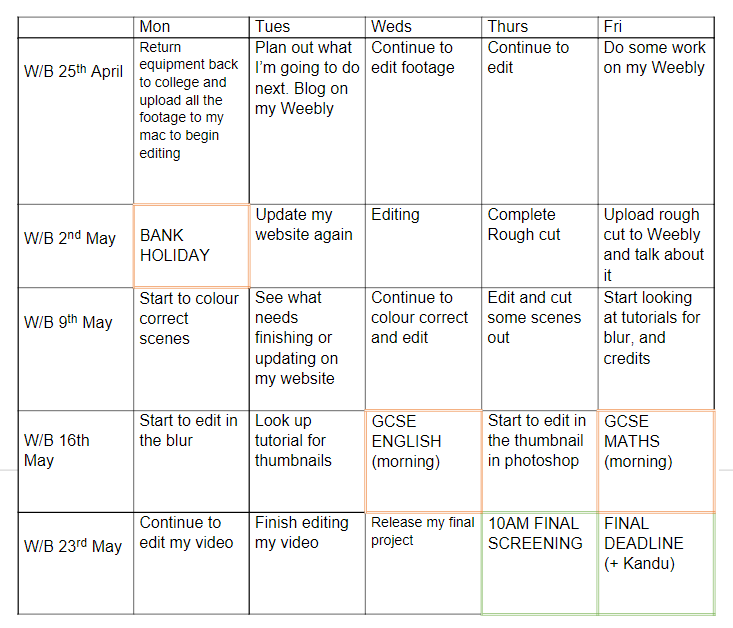
This is my Schedule and shows the remaining weeks and days to complete the project. As of right now I am still on schedule and I still have time to complete and edit my short film. I have also given myself a few days at the end to evaluate and finish what needs finishing on my website.
|
Costumes
|
|
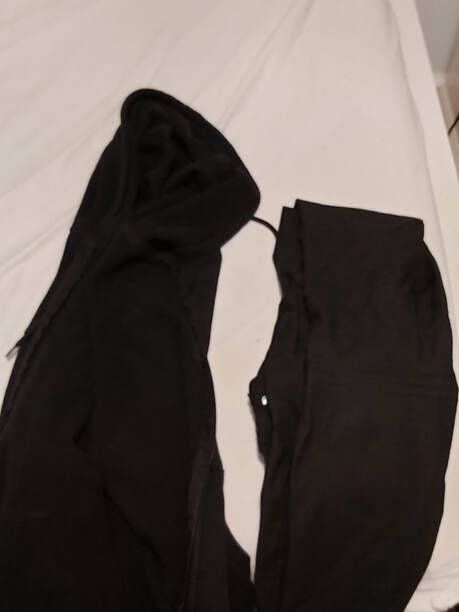
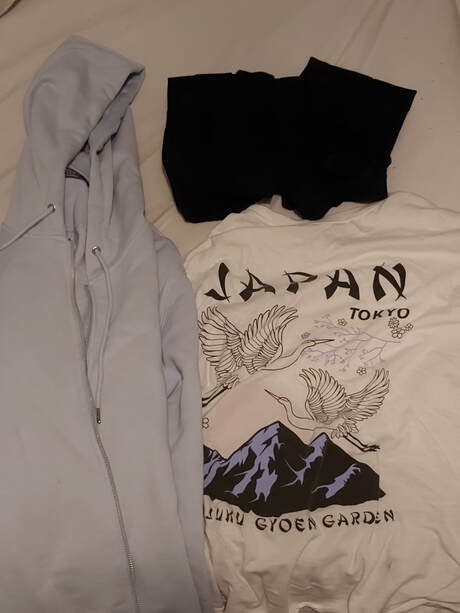
As you can see above these are the outfits that I used in my short film the one on the left is Marias outfit in present time. The colours are dark colours mainly black because it symbolises how she is in a deep state of sadness and confusion. The other outfit however is a choice of brighter colours as in the flashbacks we have Maria wearing them to symbolise a happier time before she got retrograde amnesia.
Props
|
|
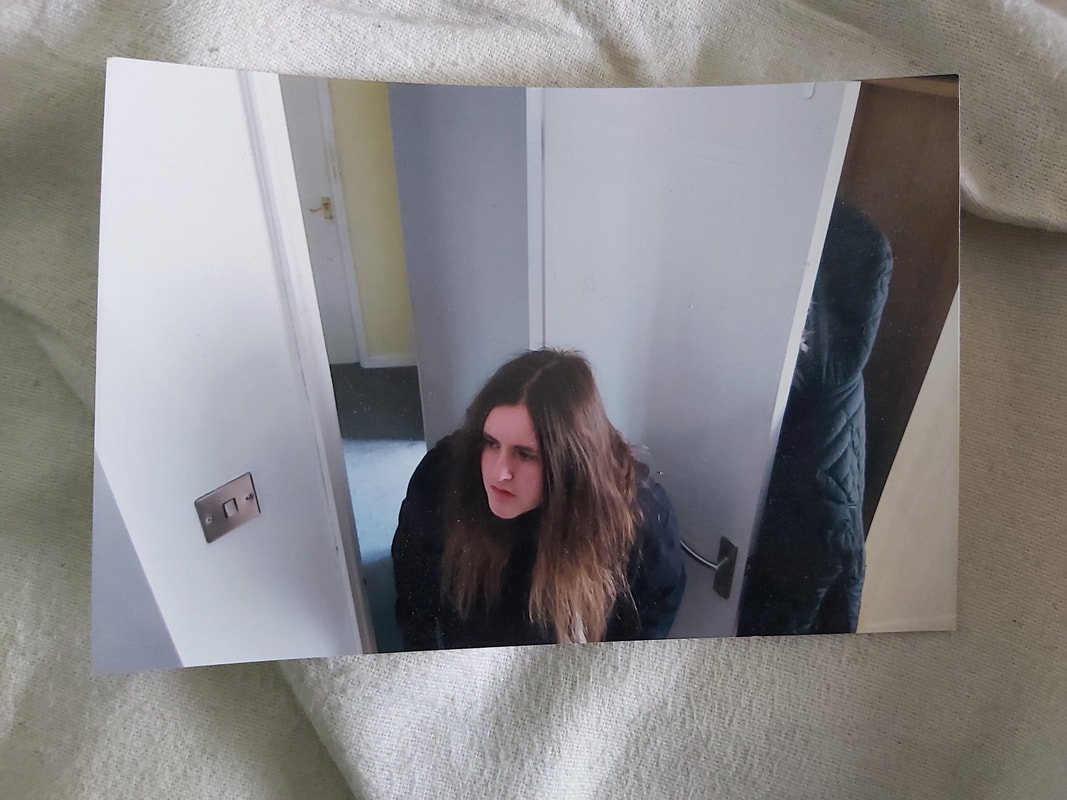
These here are my props and as you can see they're photos, which Maria uses to help her get around. But on the right is the photo that Maria finds when she gets into the house and plays a key part in the climax of the story.
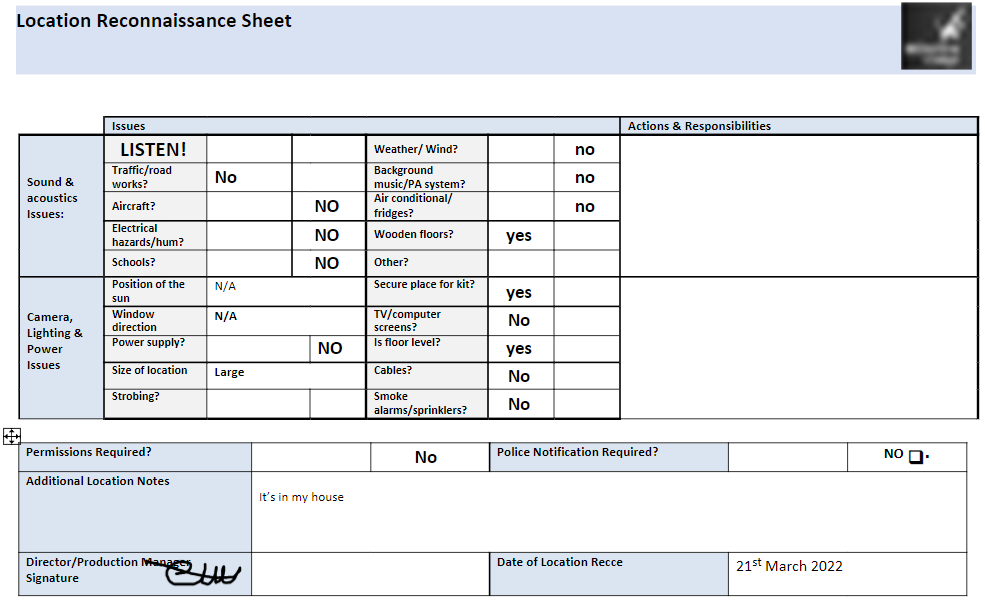
Location Recces
|
|
|
|
|
|
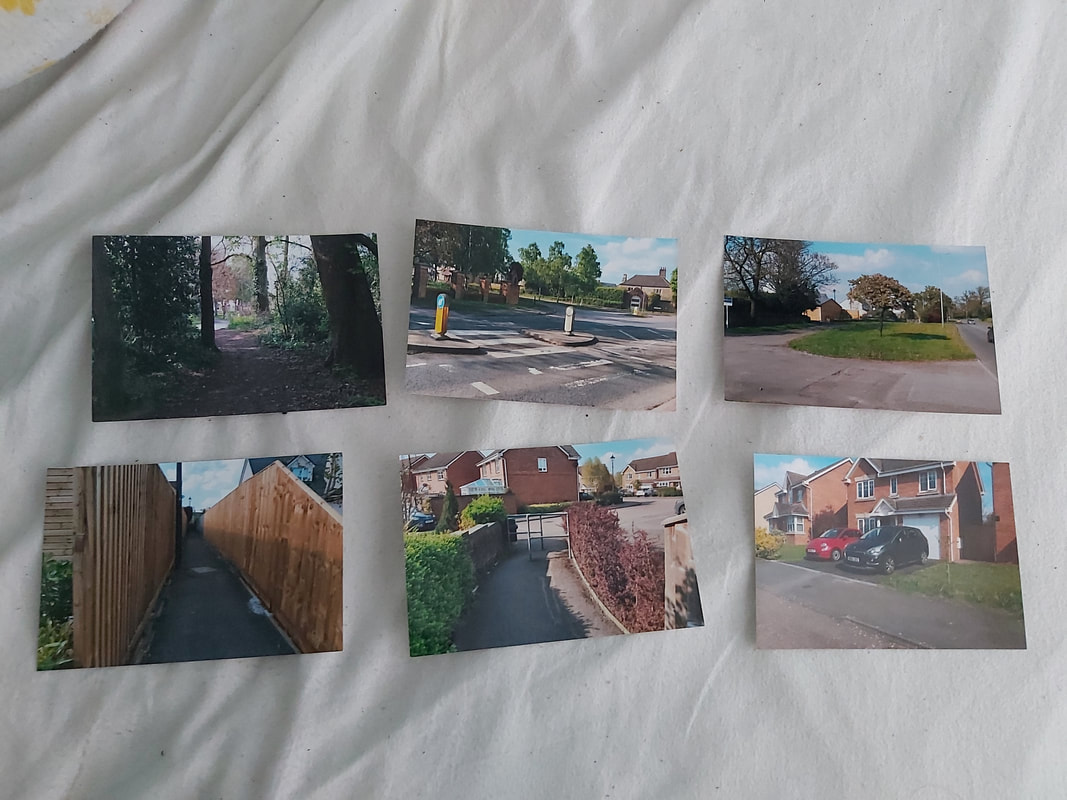
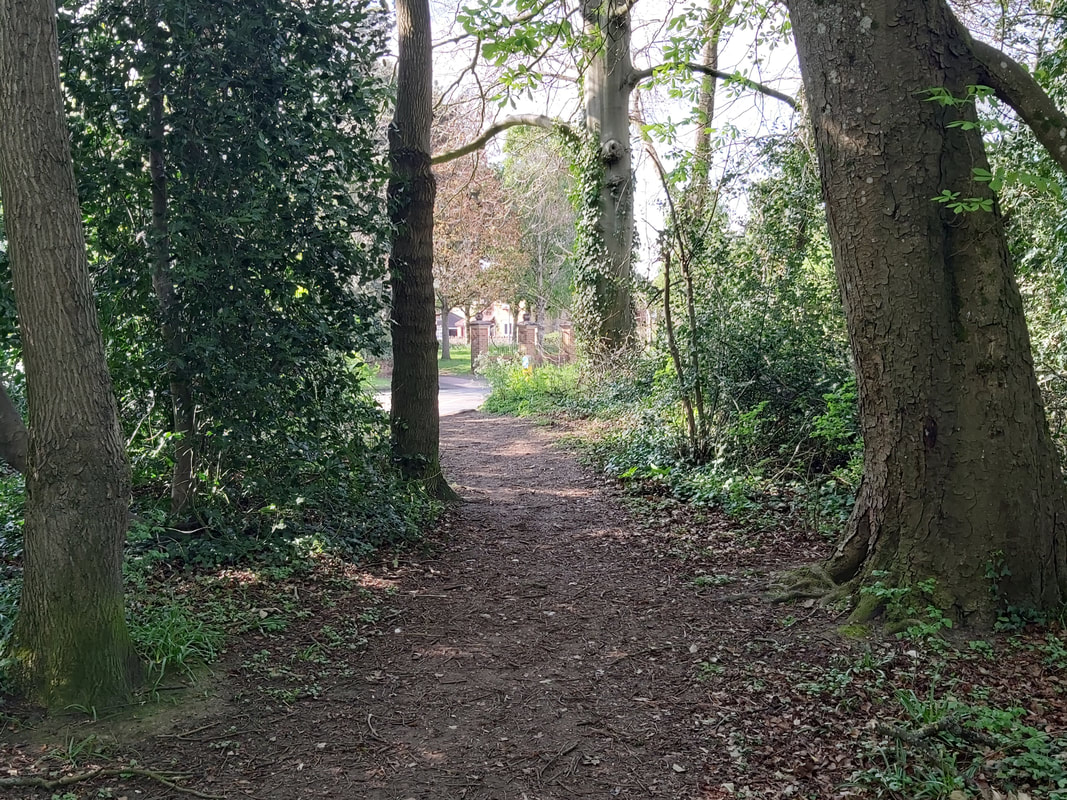
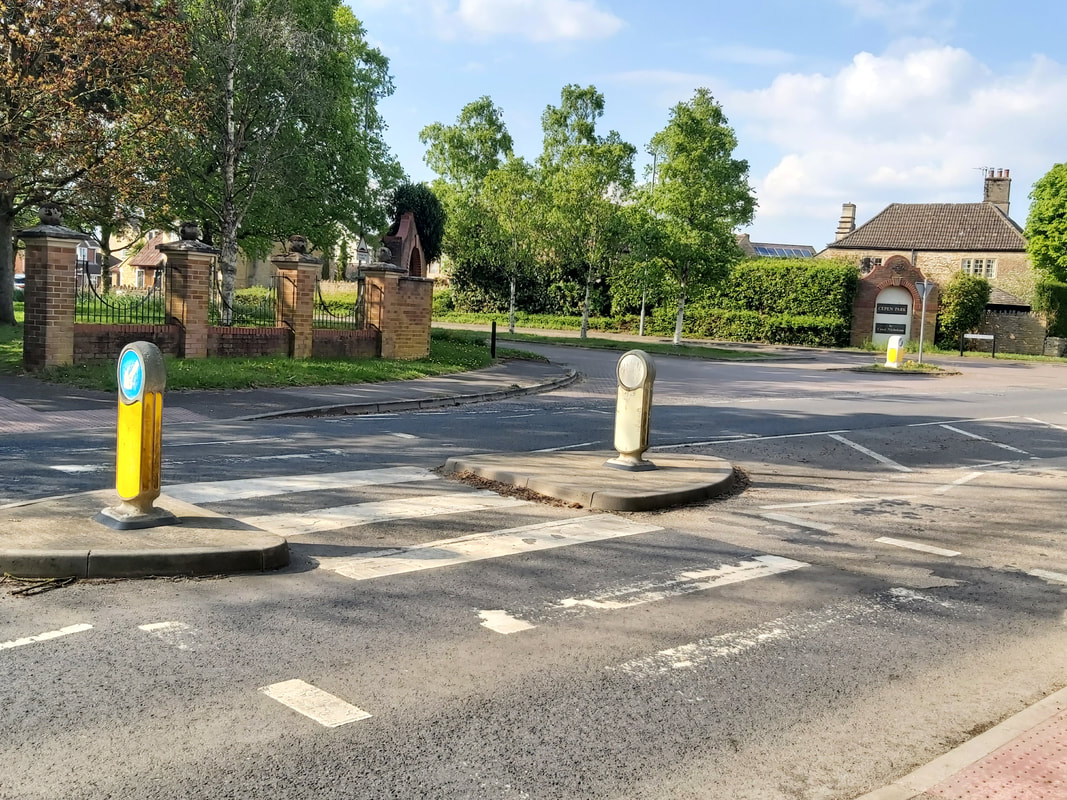
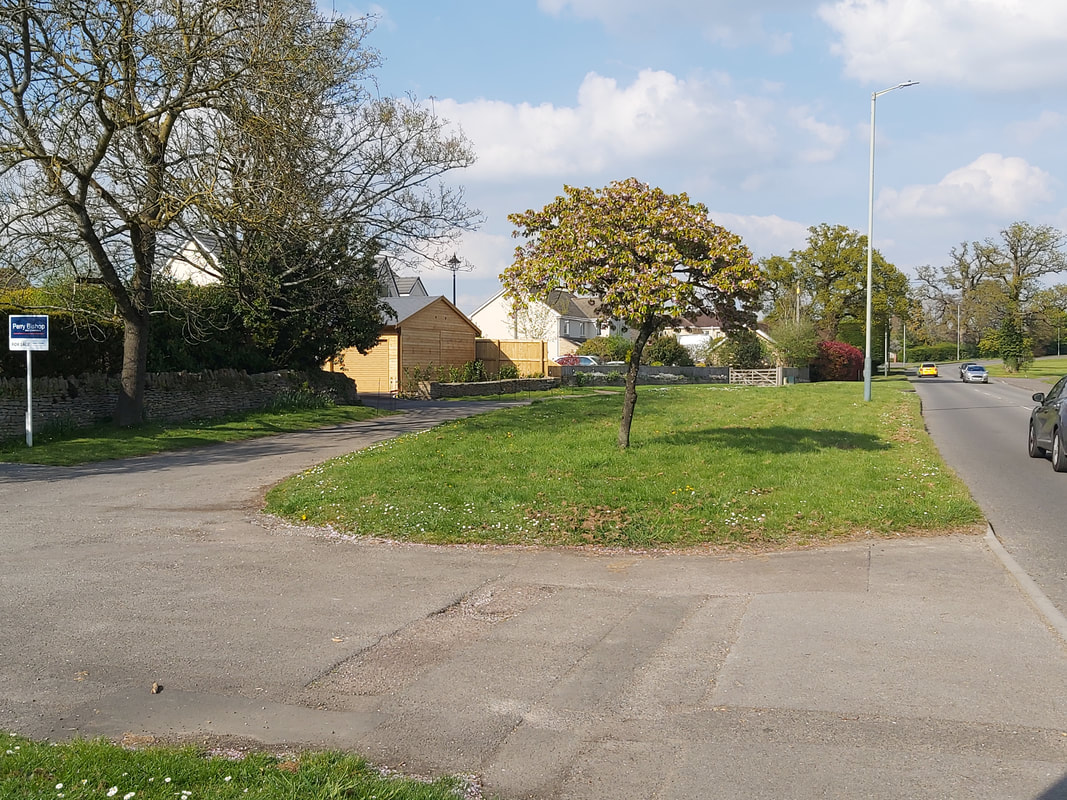
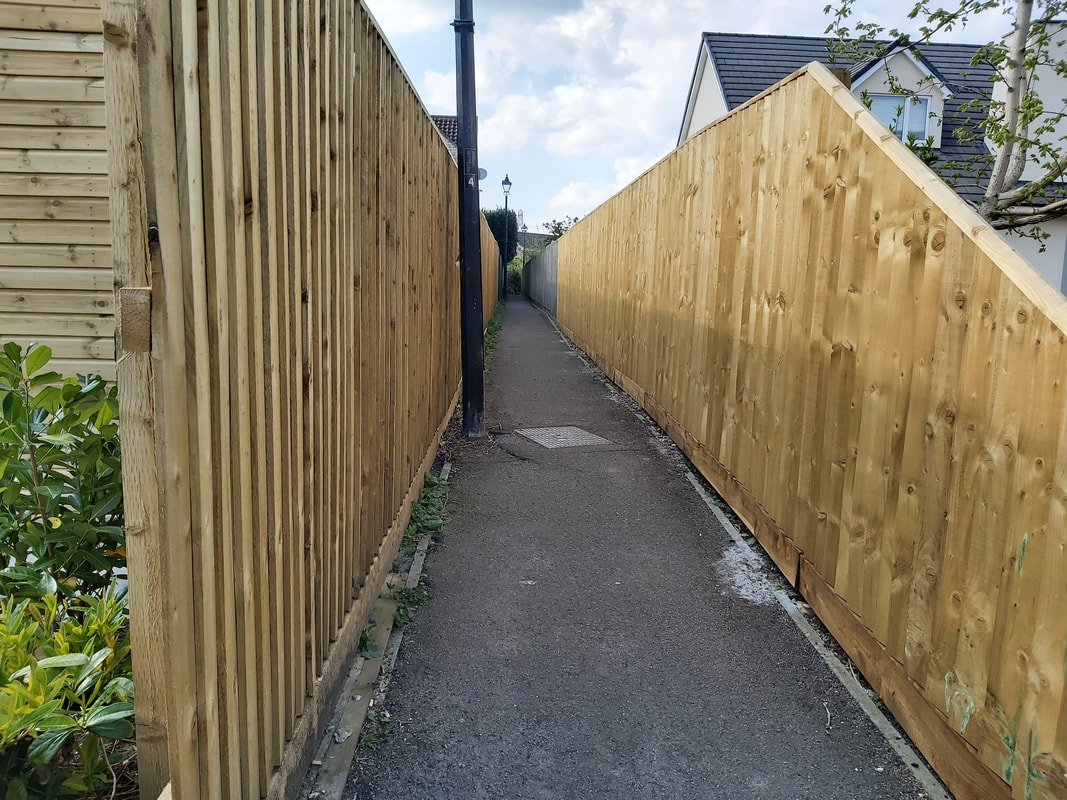
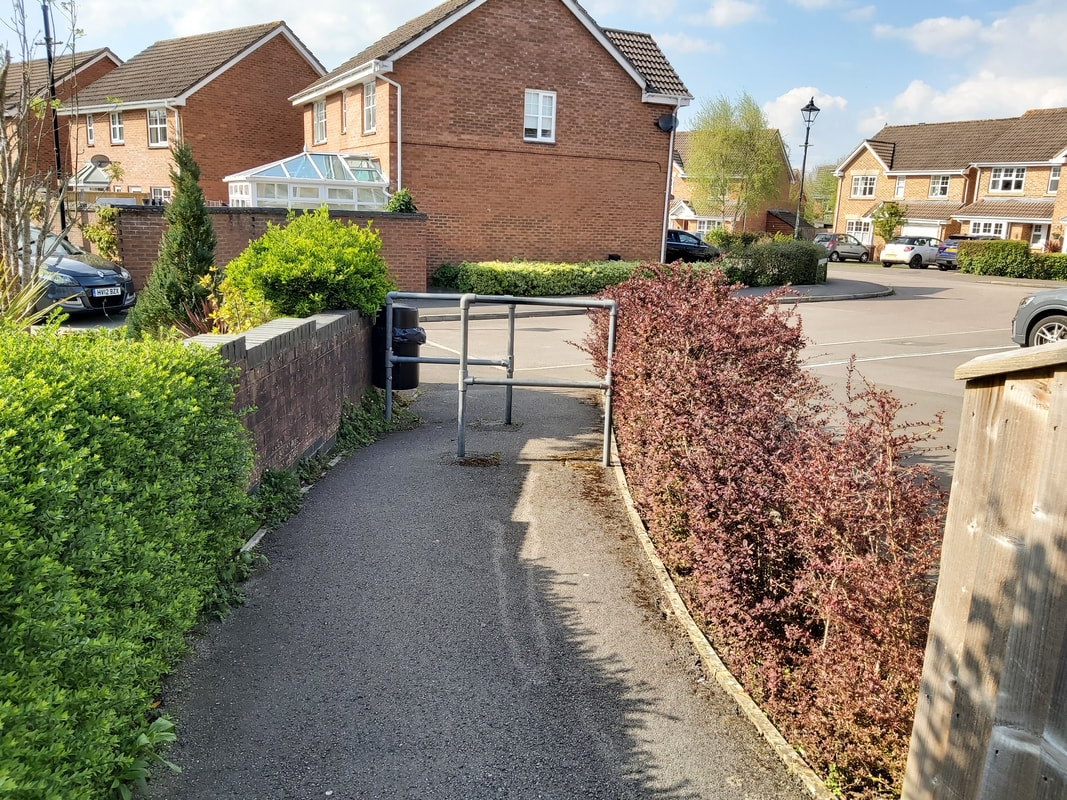
Above are pictures of all of my locations that I will be using for my project and why I chose these specific photos. First off I chose the woods for my first location as my main character Maria wakes up in the middle of nowhere do I thought that a location like the woods would be a great place as it gives off an eerie vibe and its mainly isolated. I wanted to do the crossing as the second location ad its right outside the woods and makes sense as it's the next photo in the order of the photos that Maria is holding. The tree picture is important because when Maria gets there it triggers the first flashback in my short film. The alleyway and the other part of the alley way are important too because its her long treacherous journey to get to the final destination which I'm hoping puts suspense on the viewers. Now for the last location which is the house. The house is important because that's where Maria thinks she will get some answers from and it's where the story ends once she investigates inside.
Cast
Below is my cast and crew. As you can see it is only two people, me and my sister. She is very reliable and is perfect for the role which means it would be good to have her in my film.
Director - Elina
Lead Actor - Elina
Supporting Actor - Anna
DoP - Elina, Anna
Assistant photographer - Elina, Anna
Director - Elina
Lead Actor - Elina
Supporting Actor - Anna
DoP - Elina, Anna
Assistant photographer - Elina, Anna
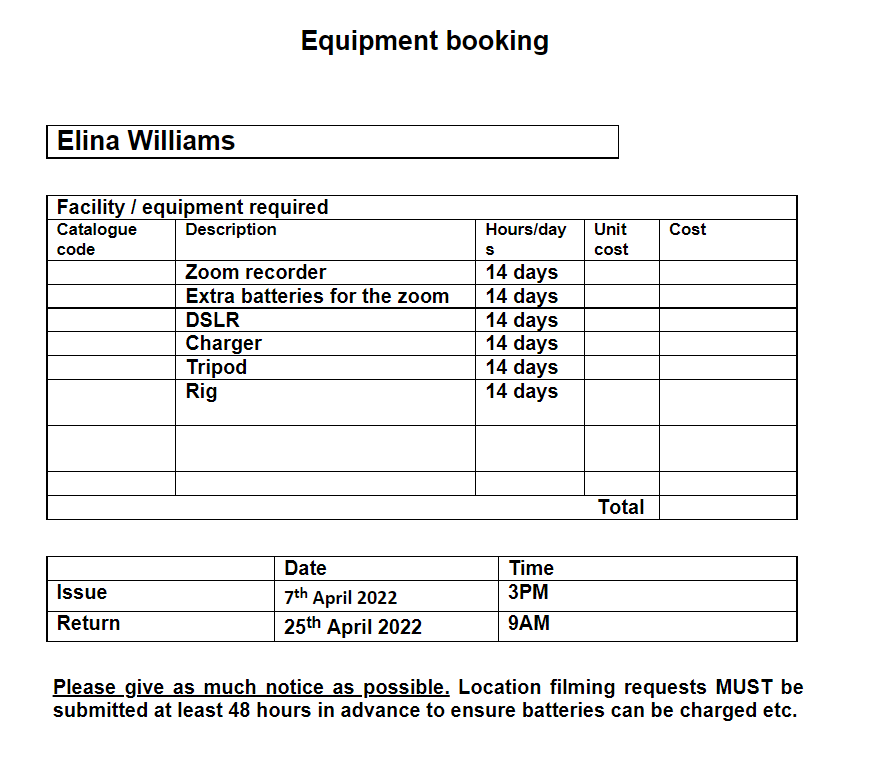
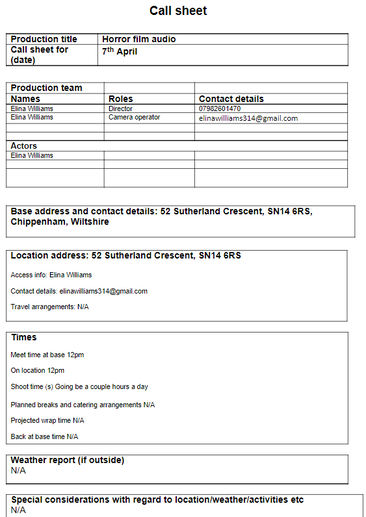
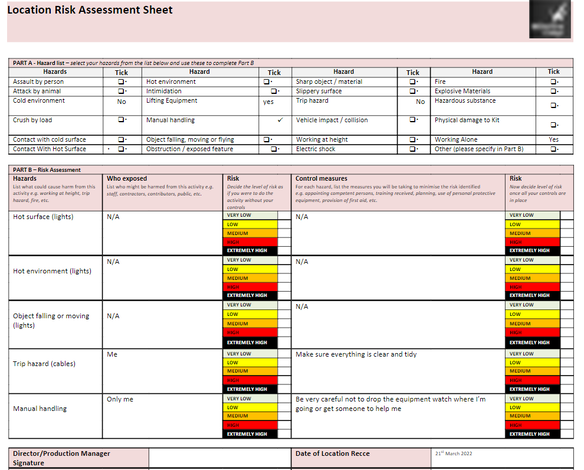
Booking equipment/Risk assessments
|
|
|
|
This is my kit list and risk assessment here I booked all that I needed for my filming in half term. I booked it early on because there was competition between my whole class and another class to get equipment so I'm glad that i did it earlier instead of last minute and got the kit.
Post Production
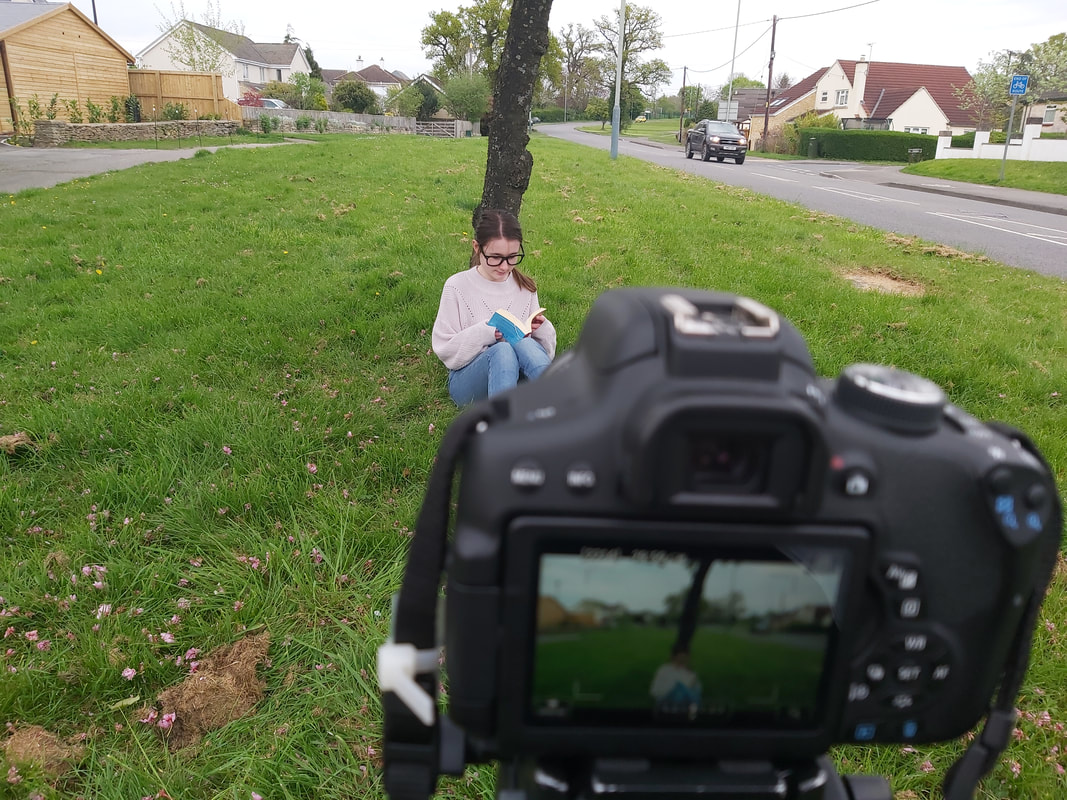
Behind the scenes of filming
|
This is a behind the scenes of one of the flashback scenes that I did in my short film. I only got one photo because when I was filming all my other parts I kept forgetting to take photos but for this one I remembered. So for next time I will be sure to snap more behind the scenes of my filming process.
|
Draft edit
|
|
This is my draft edit of my short film Memoria. This is a very rough cut as I have only put in the clips and edited it together and some of the clips need taking out in there as it drags out for way too long. I have yet to add in any music, sound effects or voiceovers. I also haven't colour corrected any of the scenes yet. For now though I'm proud of my work and I can't wait to fully complete the whole project and see the difference between the two.
|
Techniques
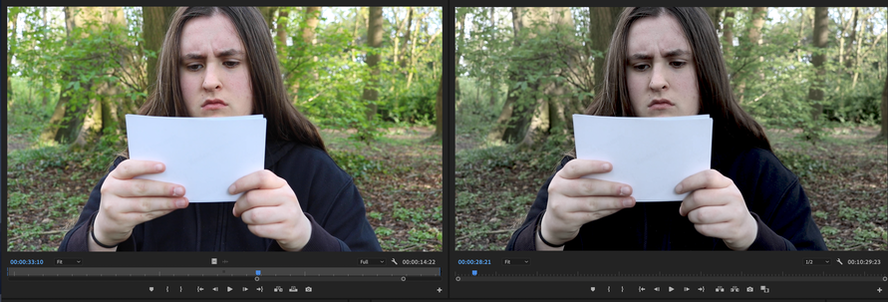
Colour Correction in premiere pro before and after
|
|
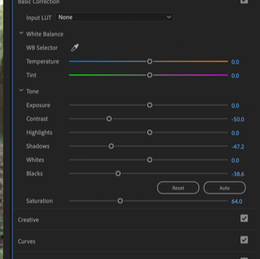
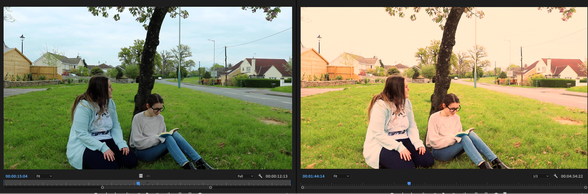
So here we have one of my scenes from my project Memoria and on the left is the clip before getting colour corrected and on the right is after using the colour correction. So for every single scene except flashback scenes I decided that I wanted all the clips to be a darker greyer colour as I wanted it to seem depressing and dull. I messed around with the colours to see which ones I would like better and then settled on this.
|

|
So here we have a flashback scene in my short film Memoria, the left is before colour correcting the scene and the right is the aftermath. I decided that I wanted to make my flashbacks brighter and more cheery but to also make it look like its a nice memory from the past. So I experimented with the colours and then decided that I wanted it to be a illuminous orangey white colour like it was taken out of an old photo.
Voiceover in adobe audition
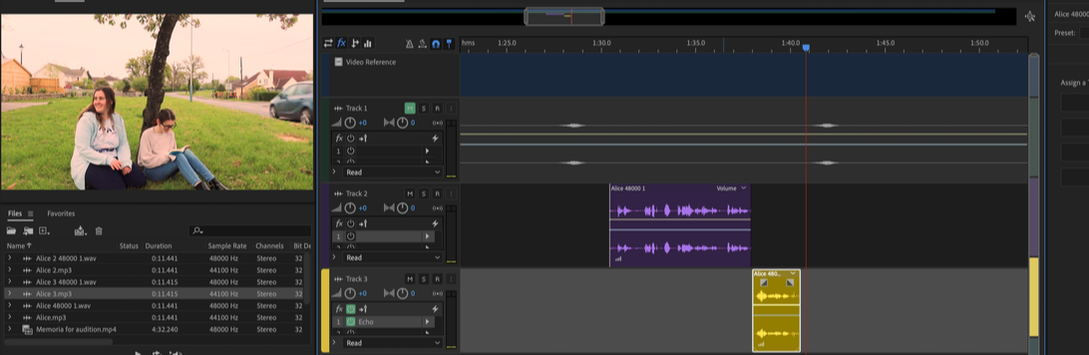
Here we have a clip of the flashback that's above. I recorded a voiceover for this scene because the audio in the actual clip you couldn't hear properly because of the wind and the cars going past so I decided to record a voiceover instead. I placed the audio file in audition and moved it under the original clip and tried to match it up to the lip syncing I then cut the end of the purple audio (which was the voiceover) and the one in yellow at the bottom is from the same recording but just the end of it as I cut it off to put on an echo effect so the sound is echoing as the flashback ends.
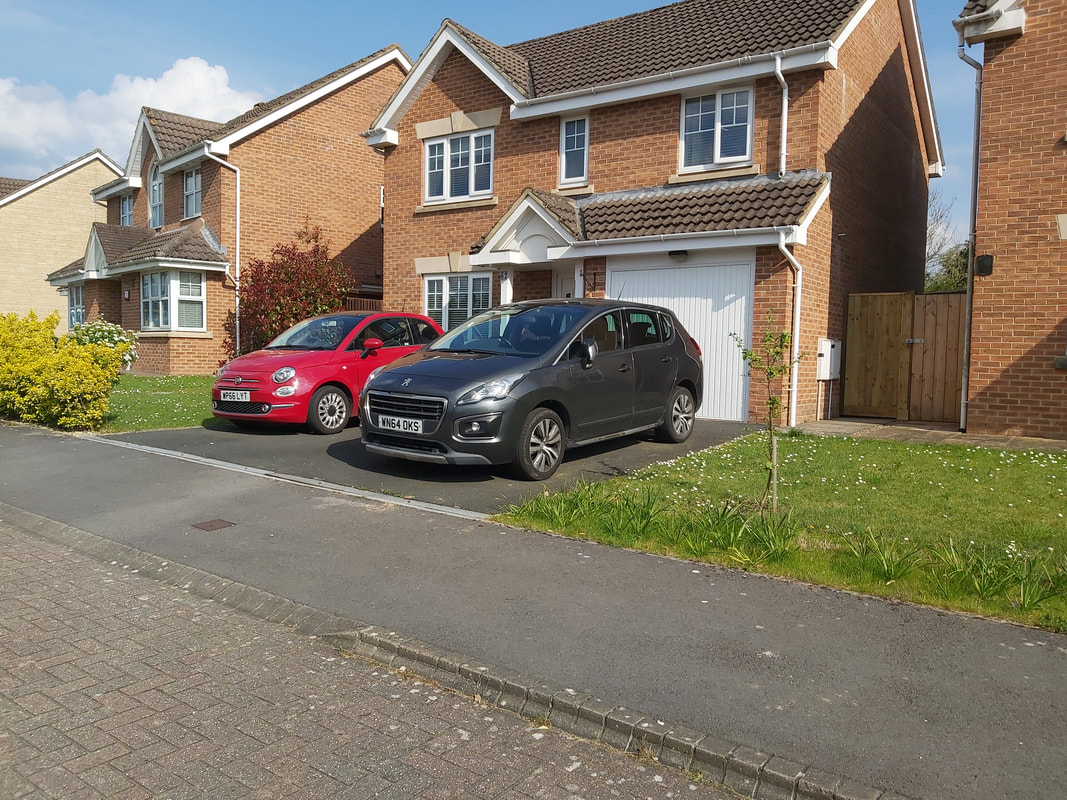
Blurring out number plates
|
|
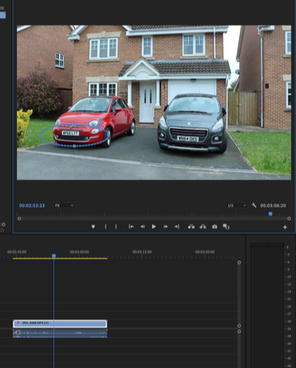
This is a tutorial on how to blur out number plates in premiere pro. I wanted to use this because there was a scene in my film which I wanted to blur out to protect my privacy so I went onto YouTube and found this tutorial and decided that I would give it ago myself.
|
Before |
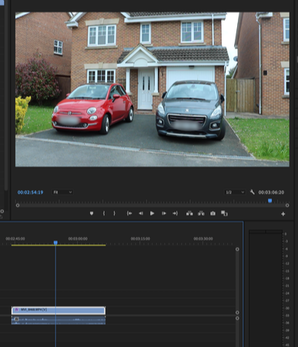
After |
|
|
So basically what I did here is that I used a editing effect called Gaussian Blur and I applied it to a clip and I added in a mask and drew a eclipse over the number plate and then turned up the blur so it blurred out the number plate. It was a relatively easy tutorial to follow and it didn't take me too long to edit onto my clips.
Rolling credits
|
|
This is a tutorial on how to make rolling credits in premiere pro. I wanted to use this because when I get to make my credits at the end of my video I wanted it to look a bit more professional and less boring than just a plain non moving text box on the screen. I decided to give it a go myself and below is what it looks like.
|
The Credit Result
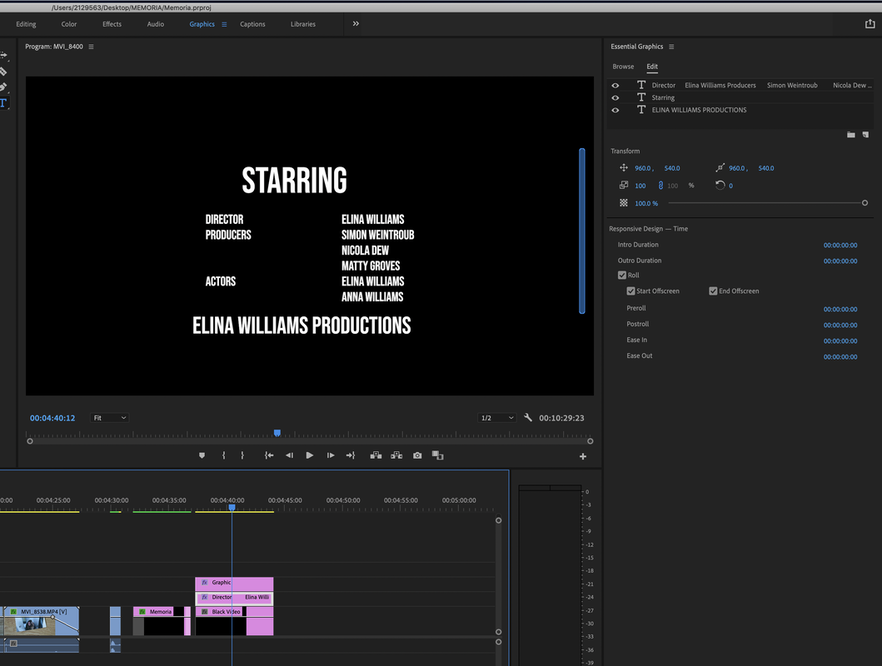
So what I did here is that I created a black video and dragged it to the timeline as you can see from the screenshot. Then I went to the graphics at the top and pressed the text tool, then clicked on the screen and typed 'STARRING' and changed the font to Bebas Neue to make it look nicer. I then centred it in the middle and clicked under the text at the top right and selected the 'ROLL' option to make my credits roll up the screen. Finally I added in a new text box below the 'STARRING' text and added in the rest of my credits.
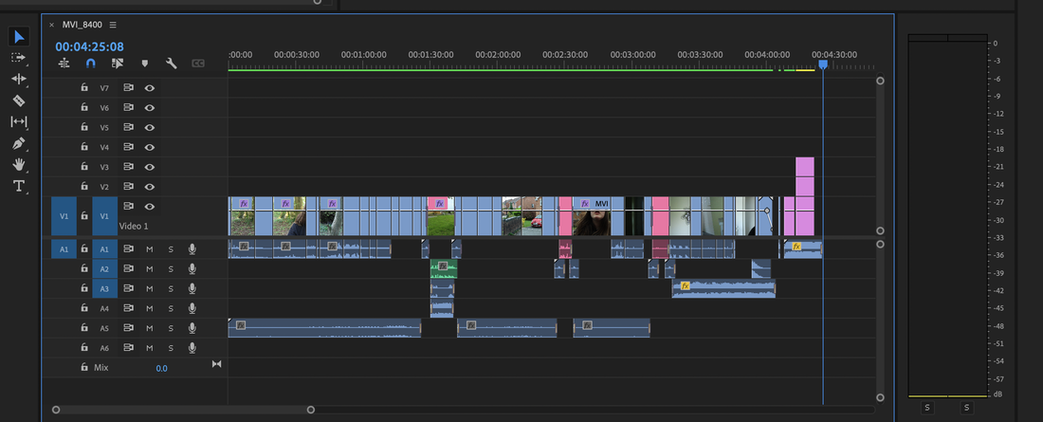
Timeline
Below is what my timeline on premiere pro looked like when I finally added everything together.
Blurring a face in photoshop
|
|
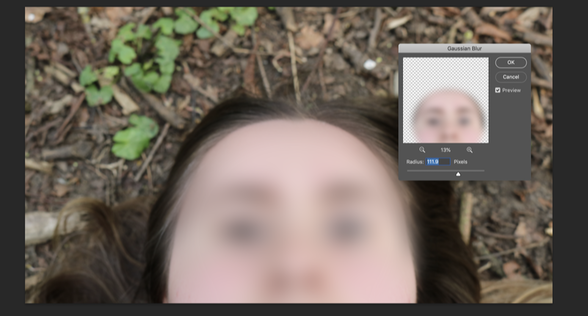
This is a tutorial on how to blur out faces on photoshop. I wanted to use this because with amnesia you forget things and sometimes forget who you are so for the thumbnail I wanted to create a blur over my face with a faded title and question mark to symbolise that Maria has a fuzzy memory and its all a blur. I decided to try it myself and below are the results.
|
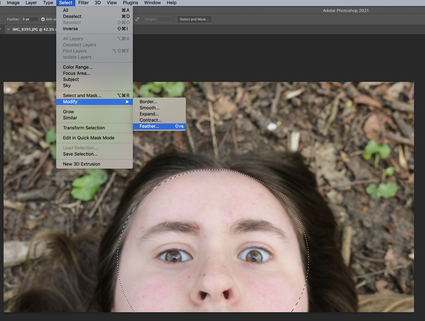
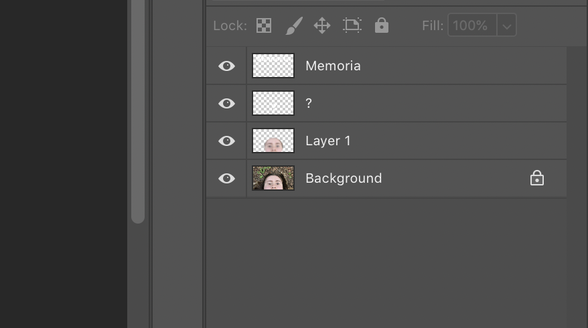
Process of making the thumbnail
|
|
So what I did here is I uploaded a photo of myself and circled my face with the Elliptical Marquee tool I then moved it around so it would fit part of my face properly. I then went to the top pressed select went down to modify and then pressed feather and pressed ok on the feather radius. Since I was on a mac I pressed CMD and J so it would create a new layer with my face on it. On that new layer I went onto filter and then blur and pressed Gaussian Blur and then slided the slider to the blur that wasn't too blurry or clear. I then added text and chose a cool looking font and used the blur on both of them and then faded them out a bit so it looks like a memory fading.
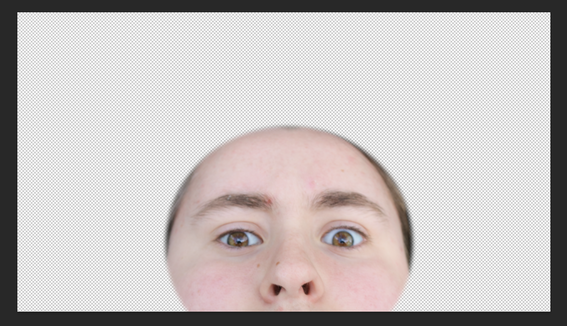
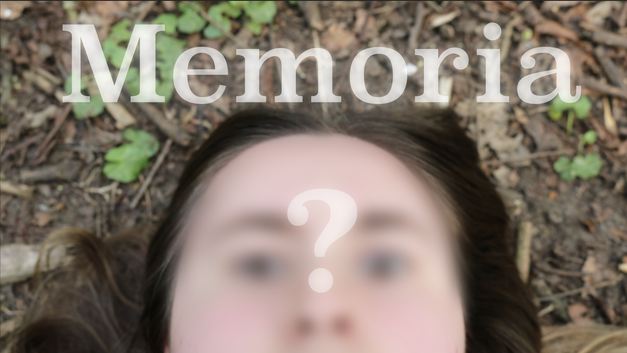
Finished result of the thumbnail
This is my final edited version of my thumbnail and I am really proud of how it turned out and can't wait to put it as the cover for my short film.
Memoria the finished product
"I confirm that the work on this website is entirely my own and does not include any work completed by anyone other than myself, except where clearly stated otherwise and that sources have been appropriately referenced."
